This is Part 2 of my collaboration with SnapBox and may contain affiliate links, which means if you make any purchases through those links I may receive a commission. I am committed to only partnering with products and companies I really and truly love, and I am thrilled to be able to give SnapBox a big thumbs up!

In yesterday’s post, I shared a step by step tutorial for getting a vintage image ready for large-format printing and the details on having it printed as an enormous 36×54” fabric poster from SnapBox…
Catch up on Part 1 right here: How to Prepare a Vintage Image for Large Format Printing
One of the reasons I fell so in love with the fabric poster idea is that they are peel and stick – no messing around with spray adhesive or glues!
SnapBox’s helpful fabric poster FAQs advise that they work best applied to smooth, untextured surfaces. The walls in our house have a very pronounced knockdown texture, so I knew I wouldn’t be applying the poster directly to the wall.
I had the perfect image in my mind of the way I wanted to display the poster, but I couldn’t land on the right words to describe or Google my idea – I envisioned the poster mounted onto a smooth sheet of plywood with inset pieces of wood behind the plywood to float the piece of art away from the wall slightly, creating a 3D effect.
As with most of my harebrained ideas where I don’t know quite where to start, I gave my dad a call. Thankfully, he was able to visualize what I wanted and help me create a plan to pull it off!
He talked me into using MDF instead of plywood to avoid warping and advised me not to use picture hanging wire as I was originally envisioning. Not only that, but he actually came over to help me with the build and hanging process! (Basically the best dad ever.)
Part 2: How to Build A DIY Frameless Floating Art Mount

Step 1: Supplies.
1 – 36” x 54” piece of 1/2” MDF – you may be able to get a larger 4’ x 8’ sheet cut down to size for you at your local hardware store. The 4’ x 8’ sheet I bought was $20, but now I have a huge piece left over for another project!
2 – 1” x 2” x 8’ furring strips – cut one into 2 – 46” pieces, and the other into 3 – 26” pieces. The two furring strips were just $1 each!
Step 2: Sand.
The furring strips were pretty rough, so I gave them a quick sanding to smooth them out a little.

I sanded the edges of the MDF smooth as well.

Step 3: Prime & paint.
I used some leftover gray primer and matte black paint that I already had on hand. I wanted the edges of the MDF to be black and I wanted the furring strip spacers to match just in case you could ever see them from the side, so I started with a light coat of primer and followed up with two coats of black paint.

I lightly priming the MDF on both sides and all edges. At first I was worried about the edges swelling due to the water-based primer, but thankfully I found this post from Sawdust Girl where she recommends priming and then just sanding any resulting roughness smooth. It worked like a charm!


I didn’t want any black paint on the face of the MDF where I would be adhering the fabric poster, just in case it ended up showing through, so I taped off the front before I painted the edges of the MDF. I also painted a small black perimeter on the back side, again, just in case you could ever see it from the side.

So the front was simply primed, the back received a black perimeter and a primed center:

Step 4: Attach the furring strips to the MDF.
Those 2 – 46” pieces and 3 – 26” pieces of furring strips became the framework on the back of the MDF that give it the “floating” effect. Once we (at this point my dad had joined the project team!) figured out the placement we wanted, we used tape to hold the shape of the framework together and measured the precise distance from each edge of the MDF.

Then, we flipped the MDF over to its “face”, the side that the poster will go on. We laid the furring strip framework on top upside down, lining it up with the measurements we had just taken.

Why? It seems a little bit complicated, but it was important to make sure the furring strip framework was perfectly in place when we attached it, since we couldn’t see it beneath the MDF piece.
We drilled pilot holes through the furring strips AND the MDF using a small (3/32) drill bit. These little pilot holes allowed us to line the pieces up again once we went to attach the furring strip framework to the back-side of the MDF.
Tip: Don’t drill your holes too close to the cut edge of your furring strips! That might cause the wood to split. We drilled holes at each end and in the center of each furring strip.

We lifted up the furring strip framework and set it aside so that we could countersink the screw holes. We wanted to attach the furring strip framework to the MDF with screws from the front of the MDF, so countersinking those screws was important to keep the surface behind the fabric poster completely smooth.


To help get the furring strip framework perfectly aligned with the MDF piece, we hand-screwed our 1” screws into the holes and stood the MDF piece upright. Then, we aligned the pilot holes in the furring strip framework with the ends of the screws that were sticking through the MDF before screwing everything together tightly.
It was little bit of a puzzle, but it worked out perfectly in the end.


Step Five: Wood putty.
I used a dab of wood putty to cover the screw heads, and once that dried completely I gave it a thorough hand-sanding to make sure the surface was completely smooth.


Step Six: Install D-rings.
We used a combination of D-rings and hollow wall anchors to support the not-insignificant weight of this piece. We made sure to install the D-rings on the vertical furring strips at the exact same spot on each side.

Step Seven: Peel and stick time!
I was pretty nervous about this most-important step – applying the fabric poster to the MDF – but (spoiler-alert) I shouldn’t have been. Application was quite simple!
I flipped over the MDF frame and carefully wiped down the primed face to make sure the surface was completely clean and sawdust/dirt/speck-free.
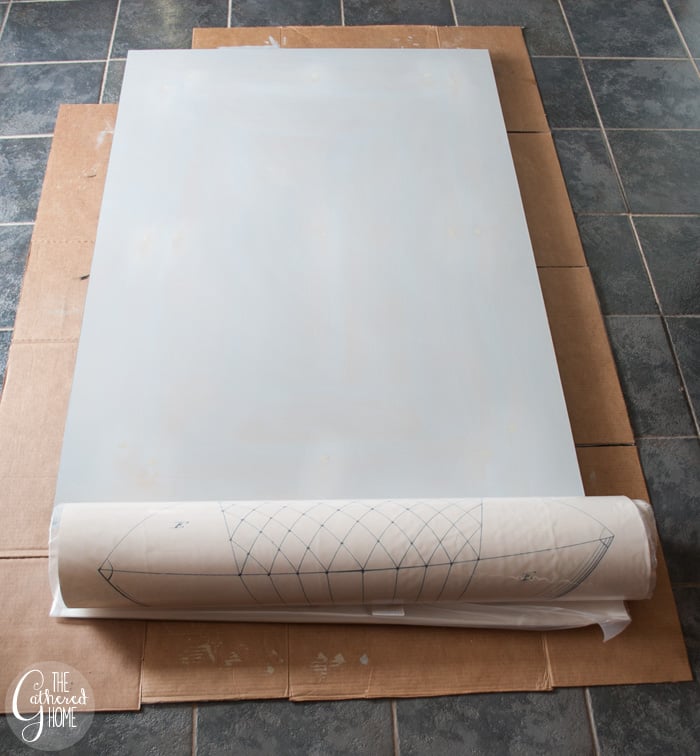
I unrolled my fabric poster and decided to start at the top. That fateful moment of peeling up the first corner…

With the top edge aligned and smoothed down, I simply pulled the paper backing away from beneath the poster. Working in short sections, I was able to easily smooth out any air bubbles.


It really was just the work of a few minutes (or less) to smoothly apply the entire fabric poster!
I had a little bit of overhang on the sides and bottom of my MDF piece (the 36 x 54” cut was not perfectly precise), but I flipped the piece over again and used a sharp blade and a metal ruler to trim the edges.
Step Eight: Hang it!
My dad and I did a little bit of math (and redid a little bit of math – just keeping it real!) to figure out the perfect place to install the hollow wall anchors for the D-rings to hang on.
Tip: Use a line of painters tape across your wall where you want to hang your art. You can draw a level line across the tape and then mark any measurements you might need without writing on your wall! Then, you can simply drill through the marks on the tape, install the anchors, and peel it up.

The finished product…
(Drumroll please)


Such a perfect addition to our “cocktail lounge” area!

(Who remembers Baxter?)

The “floating” effect is even more apparent in real life than in photos, but in this shot from the side, you can really see how dimensional this piece of art is. I love the shadows it casts!

And here is an extreme close-up, so you can see the texture of the fabric poster:

I am head over heels for the way this project turned out!

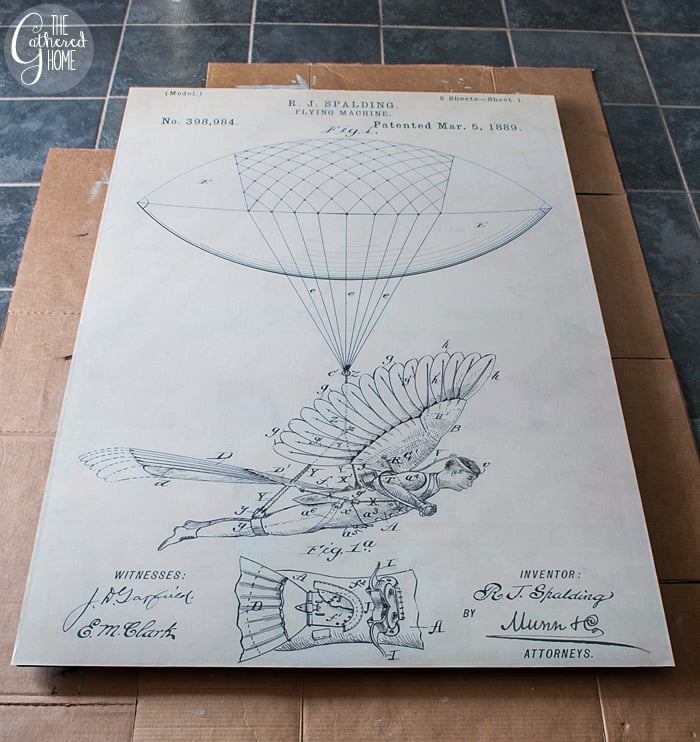
From favorite vintage image to enormous, three-dimensional wall art… This was an adventure of which I believe dear Mr. Spalding and his fantastic feathered flying machine can truly be proud!
This looks amazing, what a super cool print (and application!)
Thank you so much Jen!
This is the best project Brynne! Your Dad is a genius, you need to bottle that man! I cannot get over how awesome this is, I completely love the space too…the chairs I will never get over….my favourite colour! Very jealous!
Thank you Gilly! And I agree – I am so lucky to have my dad's help on my crazy projects!!!
this is amazing, brynne! i love it!!!! makes such a statement, and is so you!
Thank you so much Cassie! If I were a piece of art, I would definitely be Mr. Spalding 🙂
So cool and so you!
Thank you Julia!!!
This is SO GOOD! Love it, and fantastic tutorial!
Thank you Jen! I'm so glad you loved it and that the tutorial is helpful! 🙂
When you and your dad get together, great things happen!! Love the use of those D-rings, I always seem to pass-over those guys at the home improvement store.
He's the best! I'm so lucky to be able to pick his brain for more-complicated DIY projects!
You totally outdid yourself on this one Brynne! This looks great and is a great alternative to using a large canvas. Good job Brynne!
Thank you so much Jess! Yes, when I first had this idea I was pricing out large canvas prints and quickly decided not to go down that road!
This is a great tutorial! And the whole piece turned out amazing. I really really love this art!
Thank you Kenz! Me too!!!
This is so awesome! The look is museum-worthy. Thanks for sharing : ]
That is so sweet Jennifer! Thank you!
LOVE THIS! I'm redoing my boys room in an industrial theme and have looked at the patent artwork before, but man, you kicked it up a notch! Totally rocked the inspiration! Thanks for sharing.
Patent artwork is just so cool – I love the idea of using it in an industrial themed boy's room – so many possibilities! Thank you so much Jennifer! 🙂
so neat that it is a peel and stick, and what a nice dad to help you make your vision come to life 🙂
The peel and stick posters are so cool – I can think of so many more projects to use them in!
I'm looking forward to having cocktails in that space!! What an awesome piece of giant art!
Yeah girl! Come on over 🙂
This is so gorgeous Brynne! And the tutorial- that must have taken so long to do and thank you for describing it all so thoroughly! Also, Im coming over w Amber for cocktails 😉
Haha yay! I'll whip up something good!
I know the tutorial is really detailed, but I promise it wasn't too difficult and didn't take all that long 🙂 I spent maybe an hour and a half sanding & painting the pieces one afternoon, and then my dad and I spent another hour and half the next day getting everything assembled and hung up!
Oh Brynne!!! You absolute GENIUS you!!! I am staggered at how gorgeous this is – how the hell is this a DIY?!!? It looks magic in this space. Honestly, girl, you are amazing – destined for greatness I have no doubt 😉 So impressive, what a wonderful job!! xxx
Kimberly, you are the absolute sweetest! Thank you so much!!! *blushing*
love this so much! _I_ got a little nervous when you got to the sticking the poster down part, too, so I'm glad it went so smoothly 🙂
Yes, I was so anxious about that! But it was the quickest/smoothest part of the entire process 🙂
I have already started checking out your printable round ups so I can get Supa fabulous wall art like yours! It suits the space so well and the way you and your dad worked out the floating bit is so clean and professional!
Thank you Corinna! I feel like it might be overkill for me to do an enormous piece of vintage art in each room of the house, but I kind of want to now 🙂
I love this little room! Those curtains are beautiful!
I love the wall color of your cocktail lounge! Can you share what paint color it is?
Hi Suzie! Yes, happy to! The wall color in these photos is “Sage Gray” from Behr 🙂
Looks really awesome indeed !